Editing and Placements
Part of Product demonstrations in UGC videos
Capturing before-and-after footage without misleading edits
Before-and-after footage should compare the same task under comparable conditions.
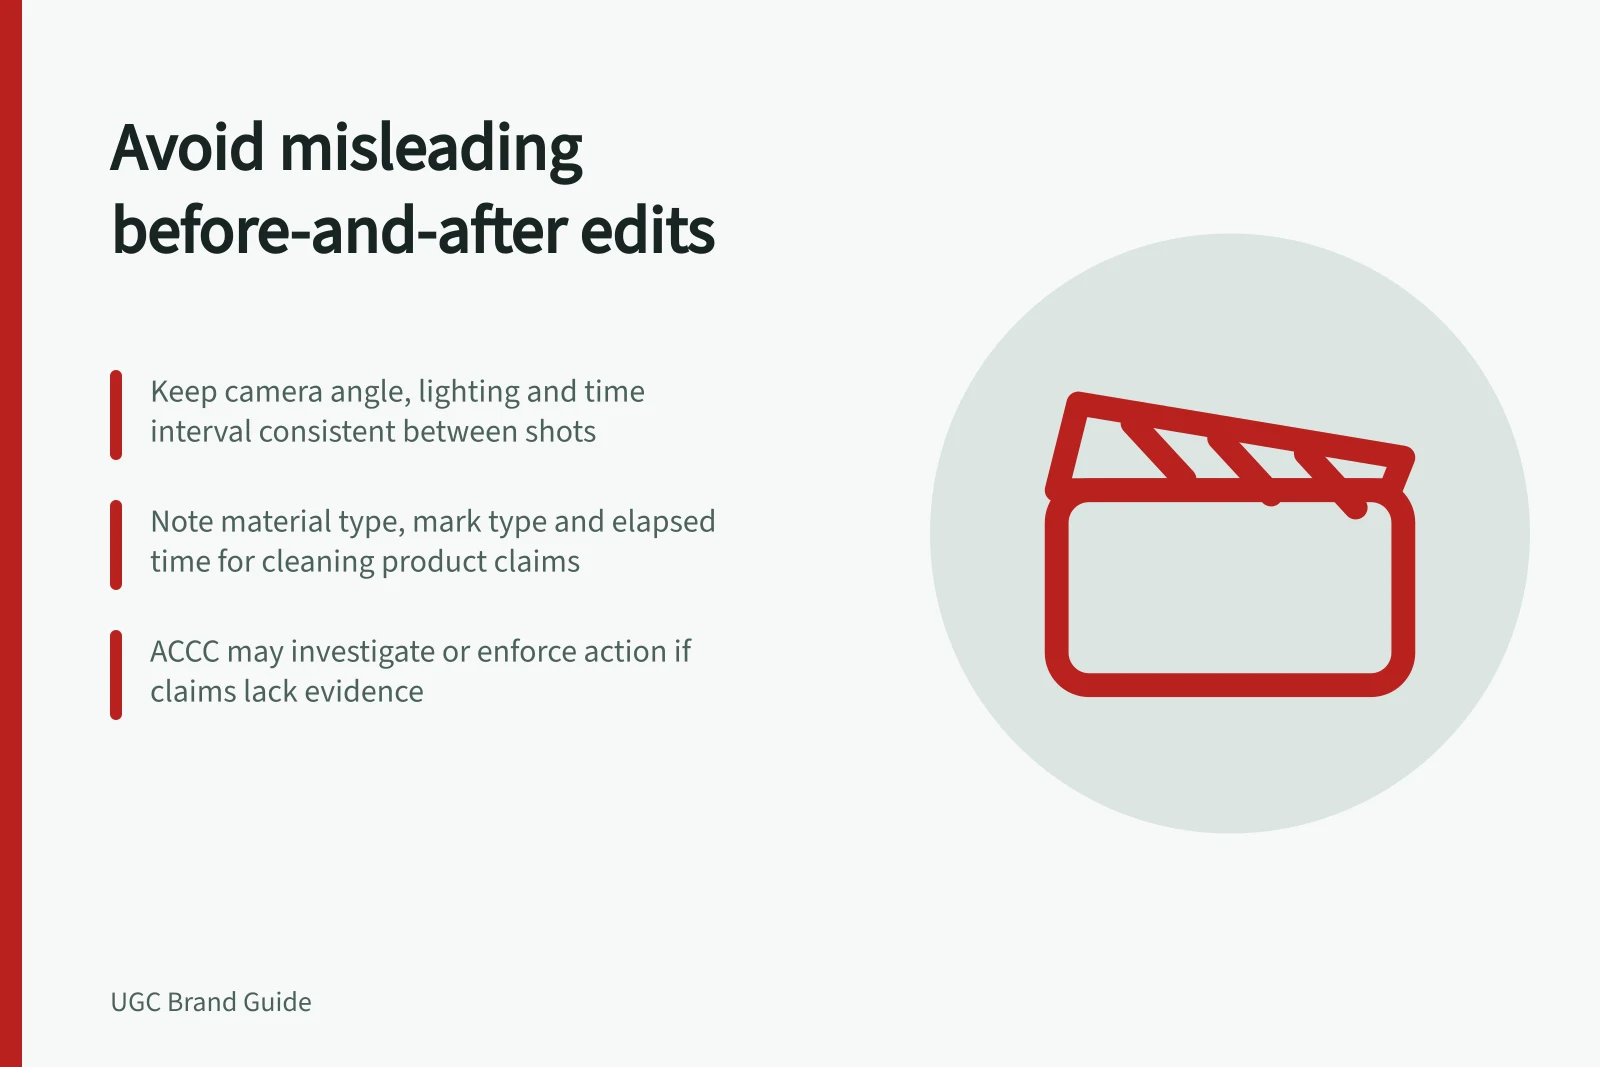
Plan the comparison around one claim and show the same task under comparable conditions. Match camera position, angle and distance, lighting, product variant, colour and exposure settings, and the time interval; record these details before filming.
If a condition changes, explain it in the footage or caption. Do not let the edit imply that the product alone caused the difference.
Define what is being compared
Write the intended claim before filming: a surface after cleaning, a room before and after storage, or a document before and after formatting. Note what else could affect the result.
For a cleaning product, record the material, type of mark, method and elapsed time. Do not use one staged example to support a broad claim about all surfaces.
The Australian Consumer Law (ACL), in Schedule 2 of the Competition and Consumer Act 2010 (Cth), prohibits misleading or deceptive commercial conduct. Sections 18 and 29 of the ACL address that conduct.
Use the ACCC’s “False or misleading claims” page when checking a product claim. The ACCC says it can require businesses to back up claims and may investigate or take compliance or enforcement action if a business misleads.
ACCC enforcement actions on misleading claims
- Section 18
- Prohibits misleading or deceptive conduct
- Section 29
- Addresses false or misleading representations
- Enforcement power
- Can require businesses to substantiate claims
- Investigation authority
- Yes — ACCC may act if misleading claims are found
Hold the filming conditions steady
Set the camera at the same angle and distance for both shots. Keep lighting, colour and exposure settings, background and product variant consistent, and note the conditions so they can be checked during review.
Show the same task in the before and after shots. If a retake uses a different object, do not splice it into the original comparison without making that difference clear.
If the process takes several hours, say so. A cut can compress time, but should not imply the work was immediate; show enough of the actual process to make the result credible.
Use clear labels tied to the recorded timing. For example: “Before — [starting condition]. After — [result], filmed [actual elapsed time] later.” Fill in the brackets with what was recorded, and disclose any changed conditions.
If the result depends on an accessory, a second product or skilled application, explain that so viewers can tell what the demonstrated product did and what other conditions were involved.
Key steps to ensure truthful before-and-after footage
- Set camera at same angle and distance for both shots
- Keep lighting, colour and exposure settings consistent
- Use the same product variant and background
- Record elapsed time and disclose it in caption
- Explain any changes in conditions or accessories used
Before vs after: Conditions that must remain unchanged
- Camera position
- Must be identical
- Lighting
- Same intensity and direction
- Exposure settings
- Fixed (e.g., ISO, aperture)
- Product variant
- Same brand, model, batch
- Elapsed time
- Clearly stated in caption
Check every version
Review the full edit and each short cut separately. Removing a setup caption or time label can change the claim viewers take from the comparison.
Check the on-screen words, voiceover and visible result against the product team’s evidence. A creator’s genuine experience is relevant, but does not prove every buyer will get the same result.
Keep an approval record for each cut: the before and after source files, filming conditions, product variant, elapsed time, edits made and approved claim.
Play each cut with its captions and audio before approval. Check that the labels and sequence match the recorded timing and conditions.
If the team cannot explain a visible difference, do not publish it as a product result.