Briefs and Shot Lists
Specifying product shots without overdirecting the creator
Describe the product evidence each shot must show while leaving the creator room to choose effective framing, setting and delivery.
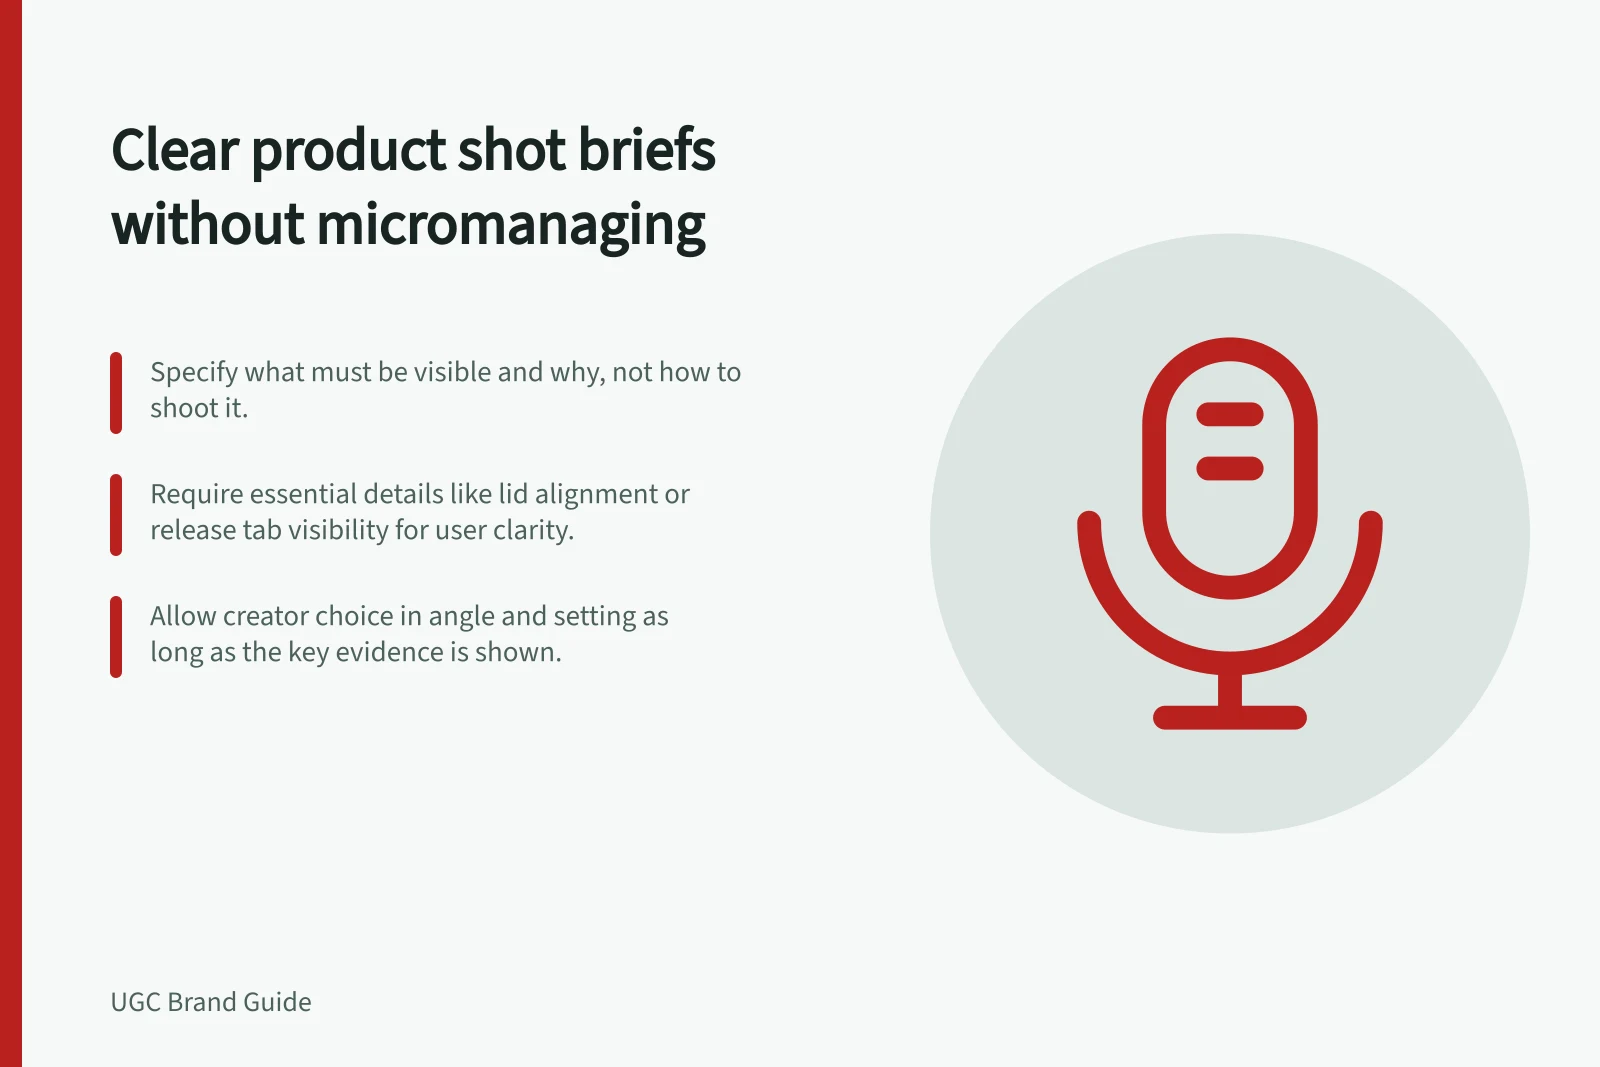
Specify a product shot by describing what the viewer must be able to see and why it matters. Leave angle, setting and delivery to the creator, provided that requirement is met. Reserve exact framing instructions for details that would otherwise be hidden or misleading.
Balancing direction and creator freedom
- Pros of clear visibility requirementsEnsures brand claims are supported; reduces rework; improves compliance with Australian Consumer Law
- Cons of over-directingLimits creativity; increases production cost; may result in unnatural or staged visuals
Write the visibility requirement first
“Get a nice close-up” gives little direction. “Keep the release tab and the creator’s hand visible throughout the opening action” describes a shot the creator can plan and the brand can assess.
Name the exact product variant and the action or detail that answers the buyer’s question. If scale matters, request a wider view as well as the detail shot; a close-up alone may remove the context needed to judge size. Sort requests before filming.
- Essential:The product identity, required action, condition or limitation must be visible for the asset to make sense.
- Preferred:A setting or composition would suit the brand but can change without losing the answer.
- Open:The creator can choose the visual approach and propose an equivalent shot.
A missing essential shot calls for a correction against the brief. A new angle requested after filming should be discussed under the agreed production terms.
Specify a result, then invite an approach
A useful shot instruction names the subject, action, evidence and room for choice.
For example: “Show the exact travel mug being closed, including the lid alignment, in a continuous view. The viewer must be able to tell when the lid is seated. Choose the surface and camera angle that make this clearest.”
The mug is hypothetical; a real brief must follow current product instructions and verified claims.
For a small mechanism, a close-up may be necessary. For a wearable item, a full-item view may explain fit better. Ask for both when the detail has no meaning without context. Decorative cutaways need no place in the required list unless they serve a viewing need.
Invite the creator to suggest a substitute. If a glossy surface reflects the camera, a side angle may show the action more clearly than a proposed front angle. Ask what the substitute preserves: the same product, action and claim conditions. Agree on it before a required scene is dropped.
Protect meaning across the sequence
An opening frame can satisfy a brief while the product leaves the frame during the important movement. Describe the interval that matters: “from the first turn until the cap is removed” is more useful than “show the cap”.
If a cut would conceal a required step or accessory, request one uninterrupted take of that part. The final edit can still be paced creatively, provided it does not imply a different process.
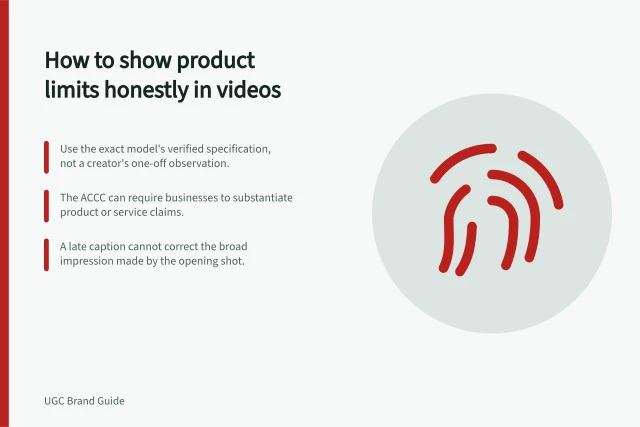
Check nearby speech and captions. A clean shot of one successful attempt does not establish that everyone can repeat it or that no preparation was needed. Keep a material condition near the result it qualifies. Verify brand-supplied facts against the exact model shown.
Agree how the shot will be reviewed
For each essential shot, write an observable question: “Can a first-time viewer see the tab being pressed before the lid lifts?” Avoid relying on a subjective instruction such as “make it premium”. Review the delivered footage at the intended viewing size and through the full action, not just an attractive still frame.
A creator who knows what information a shot must carry can choose a natural way to film it. The brief remains precise because the evidence is defined; the performance and composition remain theirs to solve.